Introduction
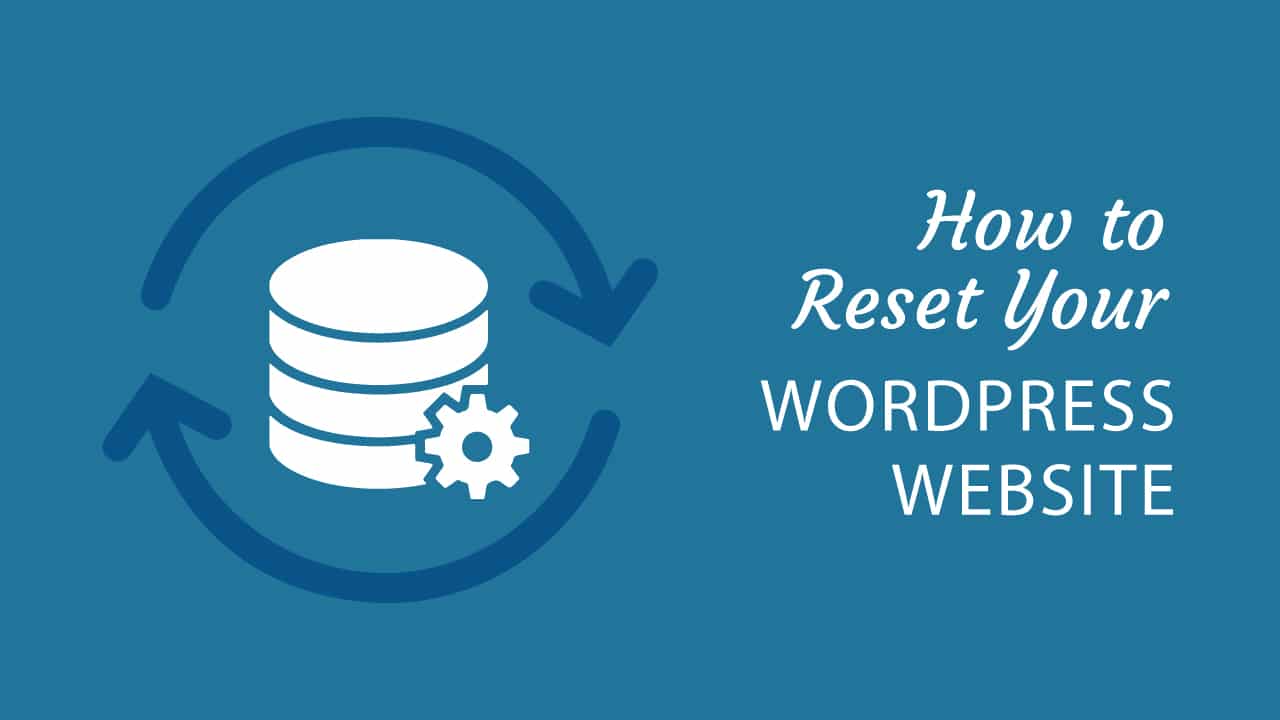
The WordPress platform is a powerful tool for building websites and blogs, but it can also be frustrating to work with if you don’t know how to use it correctly. Luckily for you, I’m here to walk through every step of resetting your site!
What is WordPresss
WordPress is a website platform that you can use to create, publish and manage your own websites. These sites are called “WordPress blogs,” or simply “blogs.” They’re simple and easy to use, but they aren’t just for anyone!
You’ll need an account on WordPress.org before you can install it on your site: https://wordpress.org/about/installation/. This will give you access to the admin panel where all of your blog’s settings are managed (like themes). If this is the first time installing WordPress then follow these instructions: https://www.codecademy-com/learn/. After installation has finished, log into your new account by clicking here: https://wordpressfrance2018
Log into your WordPress Admin area (add /wp-admin to end of your website URL)
In order to reset your website, you must login to the WordPress Admin area (shown as a page with an arrow at the top of your browser). To do this, add /wp-admin to the end of your website URL. For example:https://example.com/wordpress-admin/
Your browser will redirect you back to https://example.com/. When you go there now and try logging in again, it should work!
Go to Plugins > Add New
Now that your site is clean and you’ve done a lot of work to make it better, it’s time to get back into WordPress. To do this, go to Plugins > Add New.
This will bring up a list of all the plugins that are currently installed on your website. If there are any inactive ones (i.e., they haven’t been updated in over six months), they will be grayed out and can be safely removed from the list by clicking on them again or selecting them and clicking Remove From List in the upper right corner of their screen.
Search for WP Reset and click Install Now
To reset your site, you need to search for WP Reset and click Install Now.
Once you have clicked on the “Install Now” button, a new tab will open up in your browser. This is where you will be able to activate the plugin by entering your email address and password or creating an account if it’s not already created automatically upon installing the plugin. After entering these details, click Activate Plugin and then confirm that you want to restore all of your data settings back to how they were before installing this plugin (this includes all settings like posts, pages and comments).
Click Activate Plugin and read through the information on the installation screen
When you install a plugin, you’ll see a screen where it asks for your permission to do some things. This is where you need to make sure that your site is backed up and ready for the changes.
First, make sure that all of your data is saved on a separate server or website. You can use BackupBuddy for this purpose or any other tool that works with WordPress (or even just backing up files manually). If there are any plugins installed on top of each other, then it’s important that they aren’t installed on the same server as well because they could conflict with each other if they’re trying to access different parts of the codebase simultaneously.
Second: Make sure that there’s another staging environment set up somewhere else than where your live site runs (e.g., if you have 3 sites running off one server then set up 2 staging environments). This will allow developers greater flexibility when testing out changes before pushing them live onto production servers which might be difficult given their location(s).
Go to Tools
- To reset your WordPress site, you’ll need to go to Tools > WP Reset and click the big red button that says Reset Site this will reset all files, settings, and database tables in your WordPress site. Note that this cannot be undone.*
- If you want to keep using the same password for future logins then click “Change” instead of “Reset”. This will save a copy of your current database structure so that if anything goes wrong with the update process it won’t affect other users’ data.*
Conclusion
So there you have it, a step by step guide to resetting your WordPress site. Hopefully this has helped you get started with your own website and I wish you all the best of luck!